

.JPG)


Hey readers! Today we're going to cover basics about contouring. I'll discuss here about the products you can use, the tools and how to use them :)
Contouring is something i wouldnt do daily. More like on special occasions only and that too very rarely. Its a bit daring for me. You should practice contouring at home first because contouring gone over board can be hellish :p
The areas you want to contour are the areas you want to sink in, as in areas you want to appear more shadowy than the rest of the face and sinked in so that your face looks sculpted. Similarly areas you want to stand up and out, you highlight. Highlighting will be covered later.
Cosmetics for contouring:
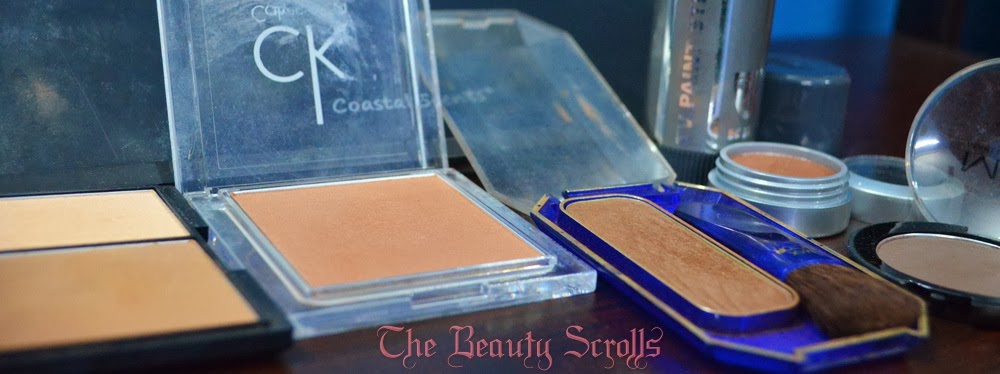
Lets start with the products you can use for contouring. You can use powders made specially for contouring, like sleeks contouring palette, coastal scents contouring palatte, bronzers WITHOUT shimmer, brown matte eyeshades, you can use cream makeup for contouring like kryolan tv paint stick in darker colours etc. The two important things to remember here are dont use any colour with shimmer, use matte shades AND avoid the shades which have a reddish hue to them.
Tools for contouring:
Contouring products are mostly powders but there are creams as well. For powders you have many wonderful brushes ranging from non branded brushes to mac, coastal scents, kryolan, belini, essence, rivaj uk, real techniques, sigma etc etc. And for creams you use wedges, sponges or your clean fingers.

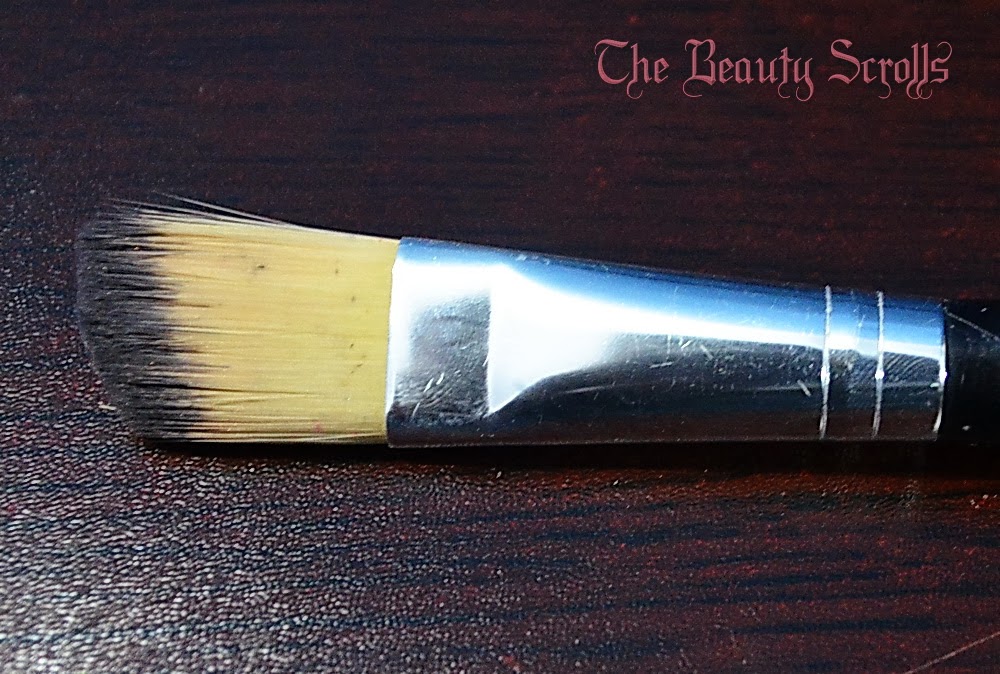
For contouring your temples, cheeks and jaw line, you can use angled brushes, fan brushes, flat brushes or dome shaped brushes.


Since i do not own any shading or dome shaped brushes, so im sharing pictures here from the site just4girls.pk for your information


And for the thinner areas like nose, eye creases, underlips and beauty bones you can use smaller brushes like flat brushes, you can also utilize a large shadow brush here. A single brush can serve many uses :)


How to contour:
Brushes make contouring pretty easy, you just have to know where to put your colour and how much colour is required. The amount of colour showing on you face should be very less and more importantly very well BLENDED. Dont use too much product, take some on your brush, tap it a little and put the colour on your face on the required areas, after that blend the colour with your surrounding skin with the same brush or a blending brush or a fluffy powder brush.
As far as cream colours are concerned, they are much more controllable than powders. You just put the colour on the required areas, blend the colour with your fingers or your sponge. Creams give a more natural finish to contouring.
Where to contour:
Now im going to show you guys which are the areas on your face that need contouring.

1- Your temples
2- Under your cheeks starting from the edge of your ear moving towards the corners of the lips
3- Your jawline
4- The crease of your eyes
5- The sides of the bridge of your nose
6- Under your lower lip
7- On either sides of your beauty bones

Here i have made a dotted map to help you guys understand better where exactly to contour

This is what your contouring will look like from the front. This is a general form of contouring, it may differ slightly depending on the face shapes, eg. a person with a very long face might not need contouring of the temples instead might need contouring of the chin and so on. The goal of contouring is to make your face look oval and sculpted.
So thats that :). Hope this picture tutorial was helpful to you guys. Practice before you wear it out and blend blend blend! Blend is your friend :) Look forward to a tutorial on highlighting basics. Let me know what you think about my posts and if you like them, do subscribe :) Takecare!
So helpful it is samar (Y)
ReplyDeleteim glad sweetheart :)
Delete